Add your game accounts #

Click on Accounts and then +ADD ACCOUNT.

Enter your account info.
Important: If you use account switching, make sure the account name image is exactly the same as the one in your game profile or the bot will not work correctly.
If you only want to have a single account in a specific emulator instance you don't need to specify a Login Type.
Account switching: Specify login types #
If you want to use multiple accounts in a specific emulator instance the bot must switch between your accounts. Currently the bot only supports Google authentication.
- Google:
- Select Google as Login Type.
- Enter the Google email address that you're using for this account.
Assign an emulator instance to an account #
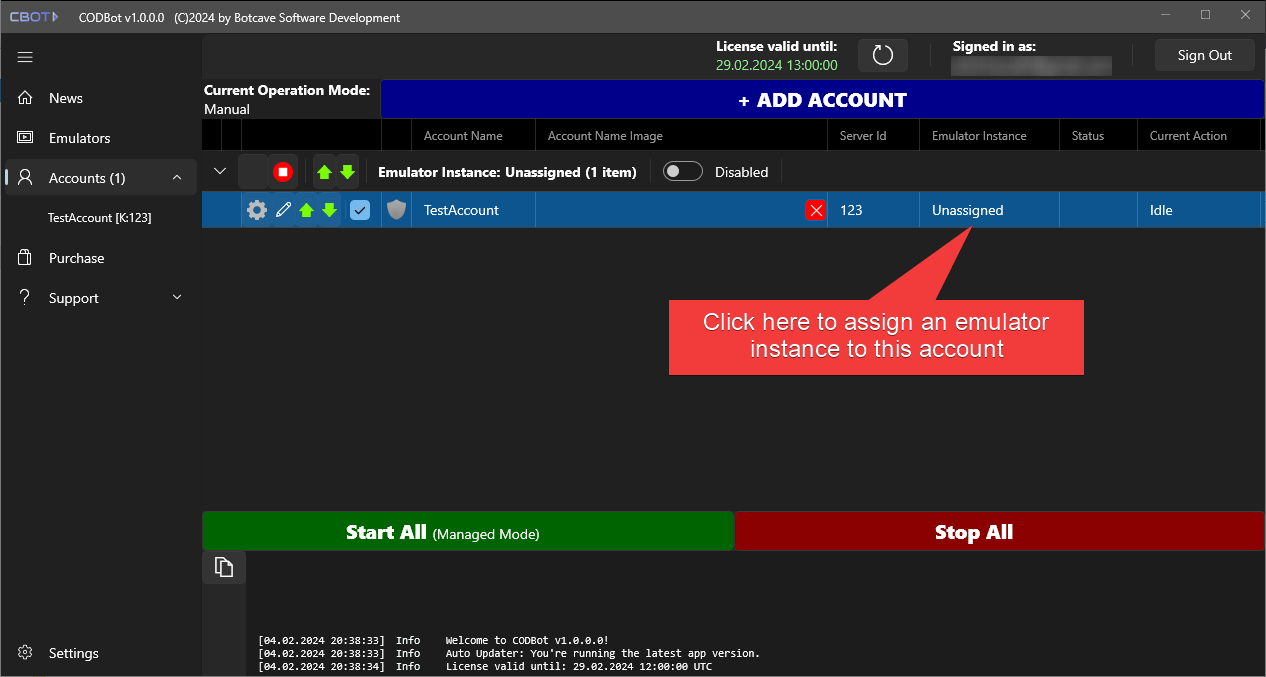
After you created your first account it will be put into the Unassigned group.
Click on Unassigned in the Emulator Instance column and select one of your created emulator instances: 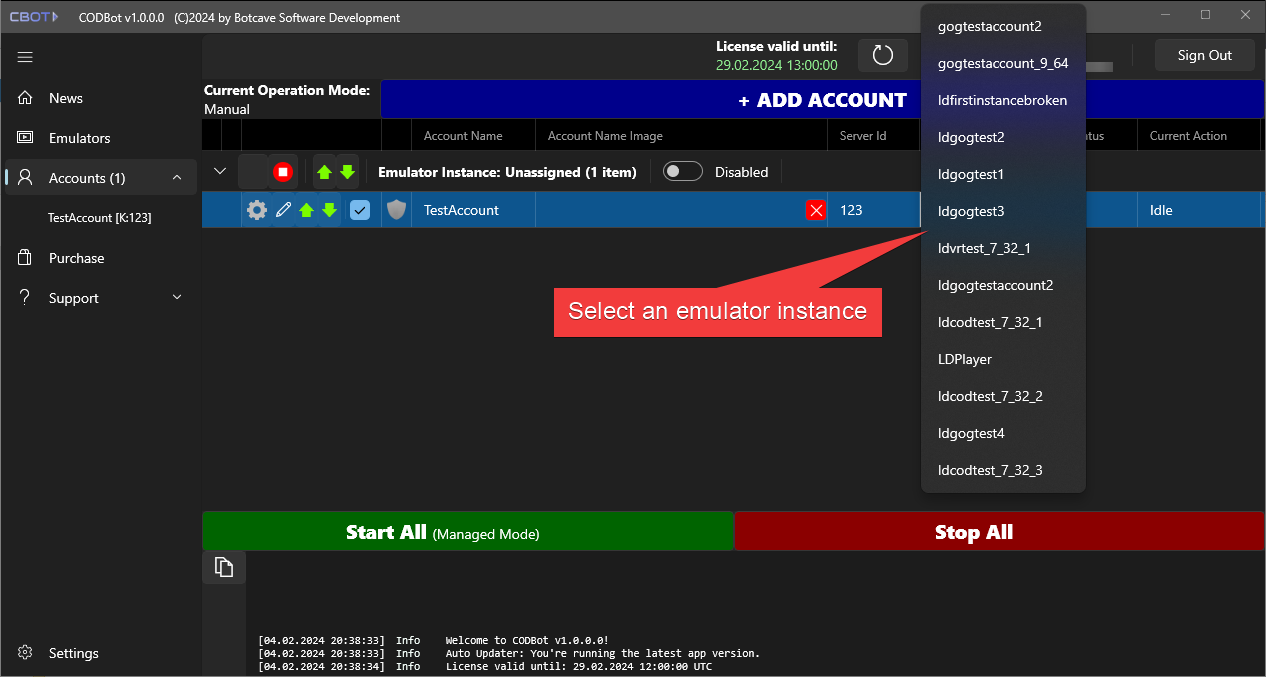
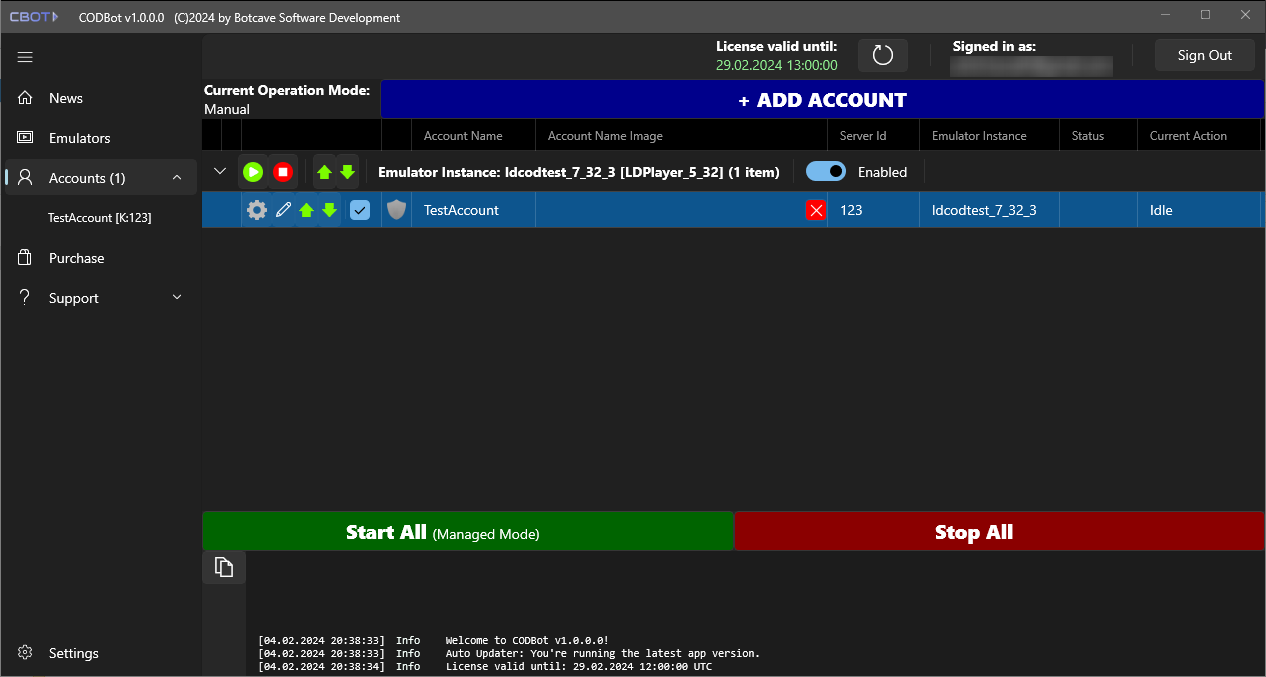
If you succeeded, a new instance group should have been created like in this screenshot.
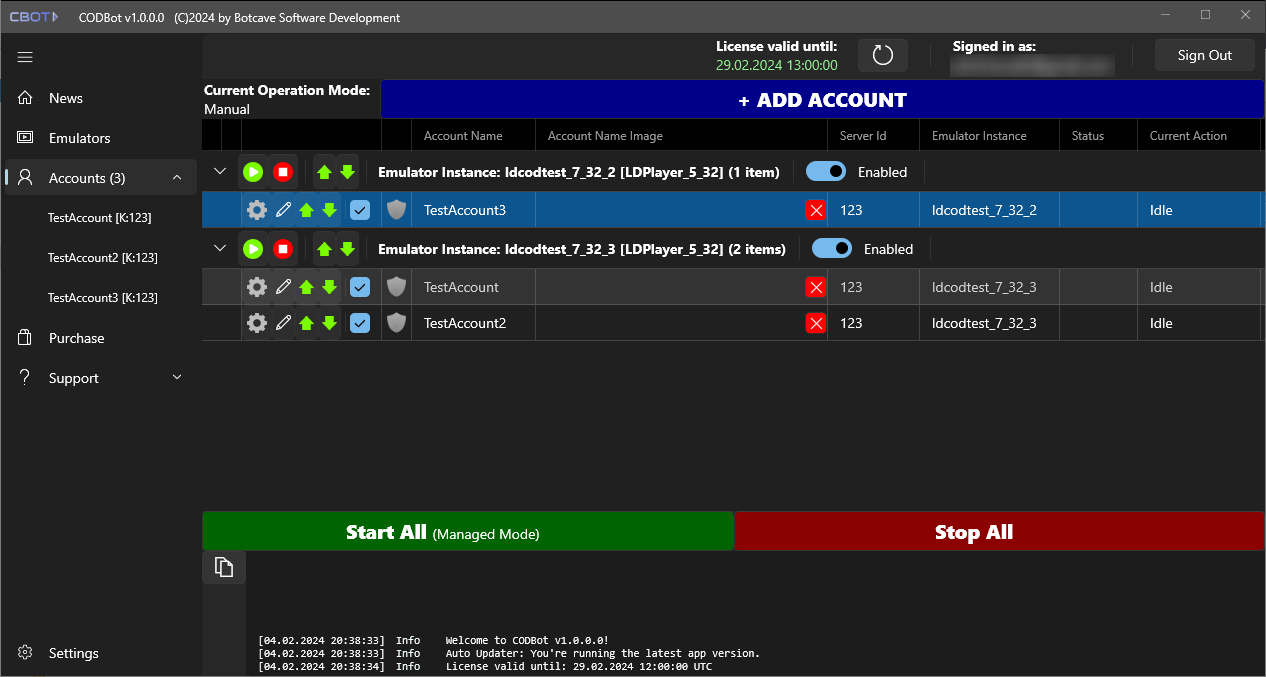
Example: Add further accounts and assign more instances #
If you now:
- add another account and add it to the same instance
- add another emulator instance and add another game account to this new instance, the Accounts page should look something like this: